Game 7 - Warriors of Chaos - Dawn Attack
A year ago there was a Watch Tower scenario played as 7th game. This year TO's decided to swap it with Dawn Attack. Given the choice I would go for Dawn Attack any day as I don't quite like win all - lose all scenarios.
Having said that I knew I was up for another tough challenge due to scenario rules anyway. When I got to know I am about to fight Warriors of Chaos I knew it is even more difficult task.
In game 7 I had a pleasure to play against Joel and his beautifully painted army. I must admit that this is very important aspect for me and I always cherish the opportunity to play in such circumstances. There is also another great topic to discuss after (or even during!) the game.
Joel's army was as tough as it was beautiful though :) No less than three silver surfers backed up by 2 skull crusher steamrollers, one warriors of chaos regiment and huge, 52 strong marauders of chaos horde. Joel was very kind to give me a copy of his army list so here are all the details:
Warriors of Chaos - Army List
Sorcerer Lord, Level 4, Mark of Tzeentch, Disc, Charmed Shield, Talisman of Preservation, Dispel Scroll, 3rd Eye of Tzeentch - Lore of Tzeentch
BSB, Mark of Tzeentch, Disc, Shield, Armour of Destiny, Stream of Corruption
Exalted Hero, Mark of Tzeentch, Disk, Shield, Bloodcurdling Roar, Book of Secrets, Golden Eye of Tzeentch - Lore of Shadow
4 x 5 Chaos Hounds
20 Warriors of Chaos, Mark of Nurgle, Halberd, Shield, Musician, Standard, Banner of Rage
52 Marauders, Mark of Khorne, Great Weapons, Musician, Standard
5 Hellstriders
5 Skullcrushers, Musician, Standard, Banner of Eternal Flame
4 Skullcrushers, Musician
Incredibly tough characters, very fast too. Lore of Tzeentch as always is very dangerous, even more so with spells like Treason or Gateway. Then not one but two Skullcrusher regiments was something to be afraid of. If it was not enough two infantry regiments packed enough attacks to kill my fragile units no matter how big their own casualties would be.
It was quite difficult to create a plan as we didn't know where our units would go. However, I wanted to shoot down support units first, with hellstriders being target number 1 as they are simply too fast even for my own cavalry.
As always with big units I could try and destroy them if I can isolate them. The were all frenzied so there was a chance to do so. However, it is easier said than done. With one or two it is relatively ok as I can always send enough units to divert them. But with 4 potential threats it was more difficult.
In that situation I decided to see how the dice roll and then quickly adapt to the situation.
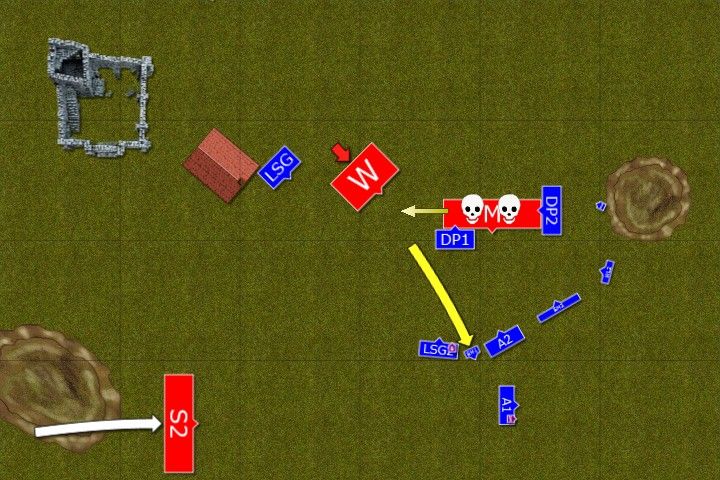
Deployment
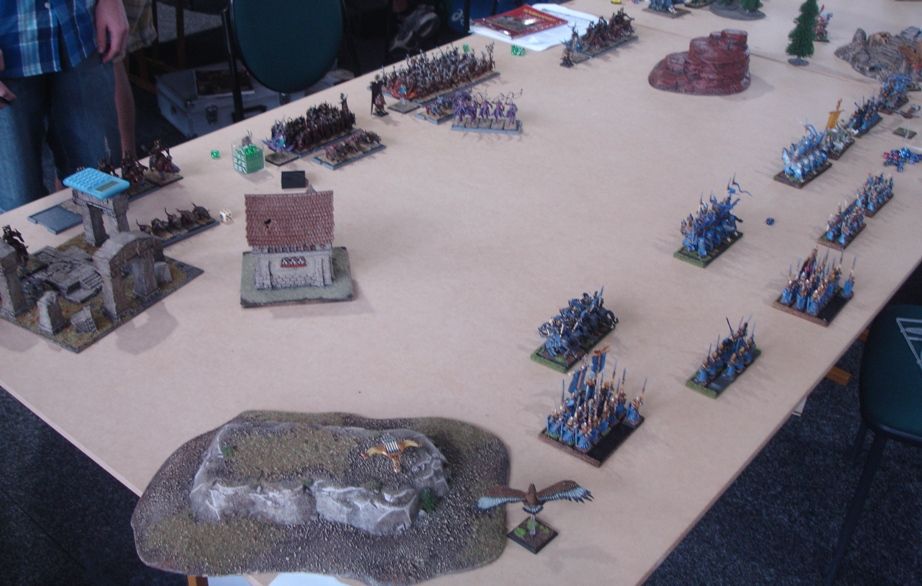 |
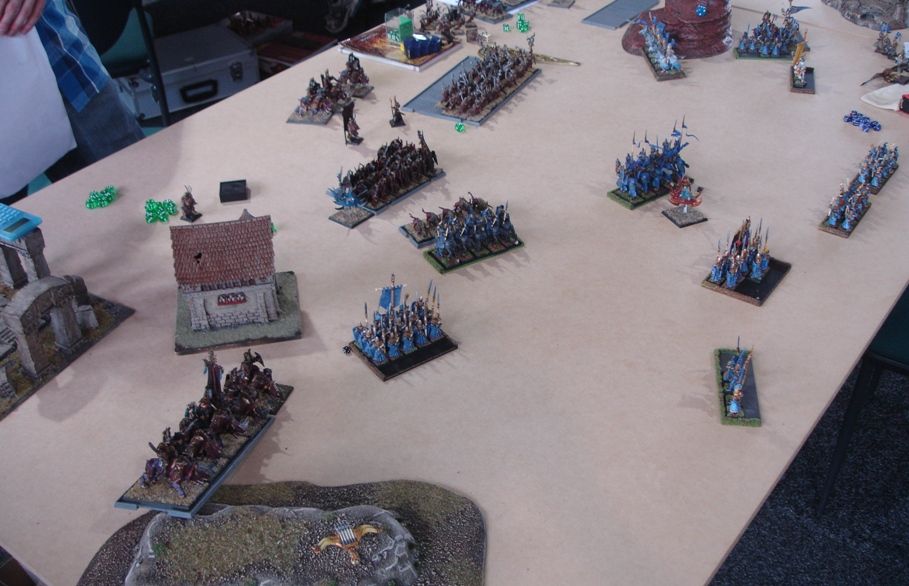
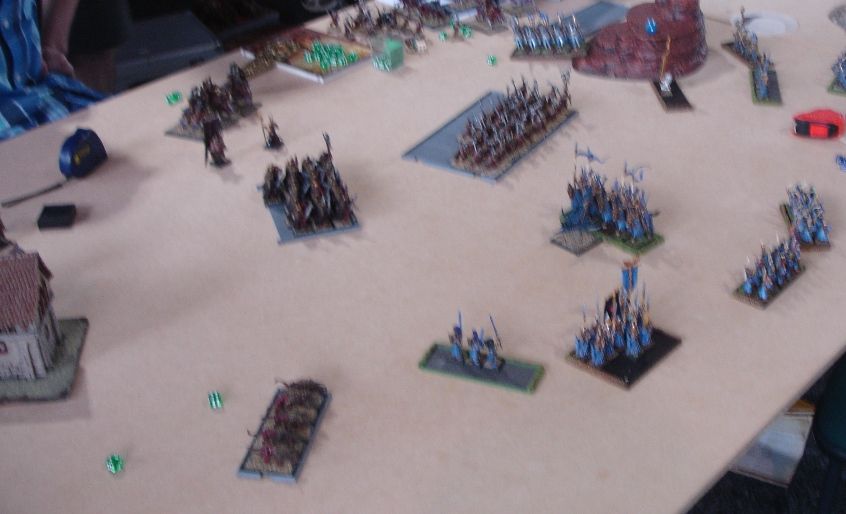
| Relatively empty battle field with both armies arrayed |
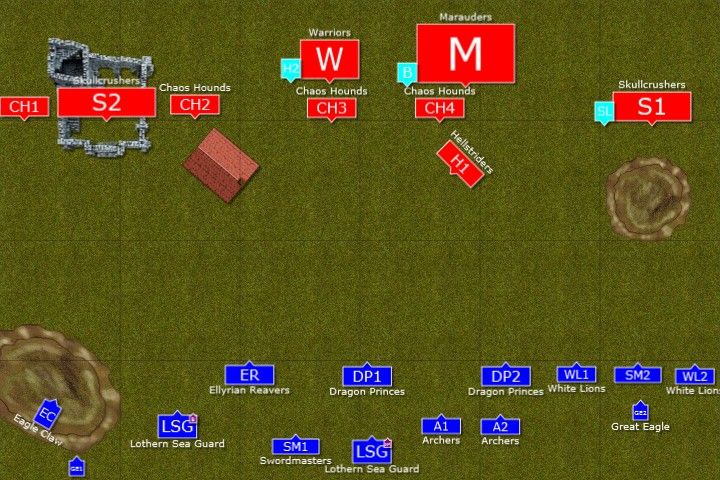 |
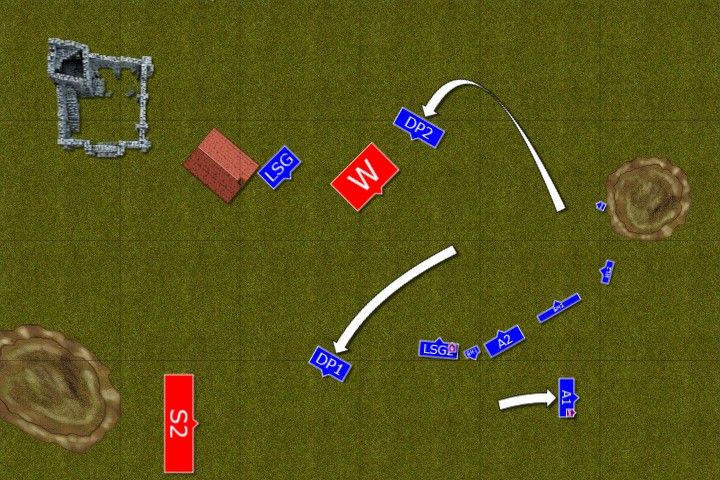
| Deployment after vanguard move |
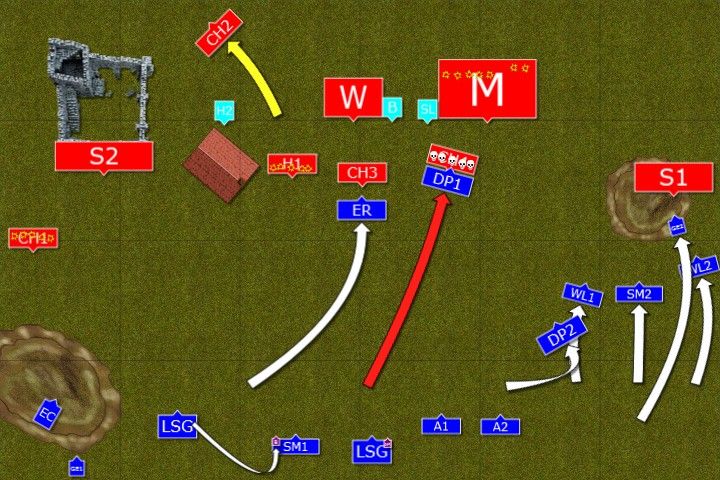
The relatively empty battle field didn't help me much as WoC army was eager to get to combat as soon as possible. We rolled to see who is to deploy first and Joel won the roll off. That gave me some insight into what was coming but I had to wait and see if I could come up with good plan after I rolled for my own units.
Both Skullcrusher units had to deploy on respective flanks which seemed to be good for me as it seems to be easier to contain a regiment there. One unit of hounds and general of the army also ended up on flanks while the rest of the army had to deploy in the center. The only problem for Joel was the fact on of his monstrous cavalry had to go through ruins, enforcing dangerous test if he elected to march through them.
Then it was my turn to roll. Eagle Claw, Great Eagle, Sea Guard and BSB had to deploy on the left flank. Both Lions and one unit of Swordmasters had to deploy on the opposite flank. The rest of the army had to be placed in the center. That presented some opportunities but also some difficulties. While I was happy to deploy my elites on the right flank to be able to confront smaller unit of skullcrushers then BSB on the oposite flank with not many units to hide was a problem.
Another problem was with cavalry I prefer to deploy on the flanks too. Here I had to find room for shooters and the knights in the game where I faced combat orientated army on the empty field. I decided to go for double line simply because that gave me the chance to attack hounds early on and get rid of them.
I tried to steal the initiative but failed to get a '6' and Warriors of Chaos were about to begin.
The wizards had following spells:
Sorcerer Lord - Flickering Fire, Pandaemonium, Treason of Tzeentch, Infernal Gateway
Exalted Hero - Miasma
Archmage - Drain Magic, Shield of Saphery, Curse of Arrow Attraction, Fury of Khaine, Flames of the Phoenix
Disclaimer: Some of the diagrams, in particular relative distances, are unfortunately off. I apologize for inaccuracies. If in doubt, please, refer to the picture or simply ask and I will clarify as best as I can.
Warriors of Chaos - Turn 1
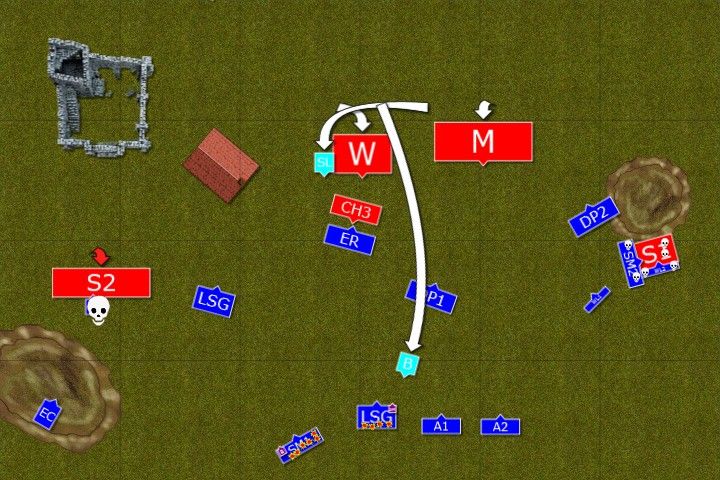
 |
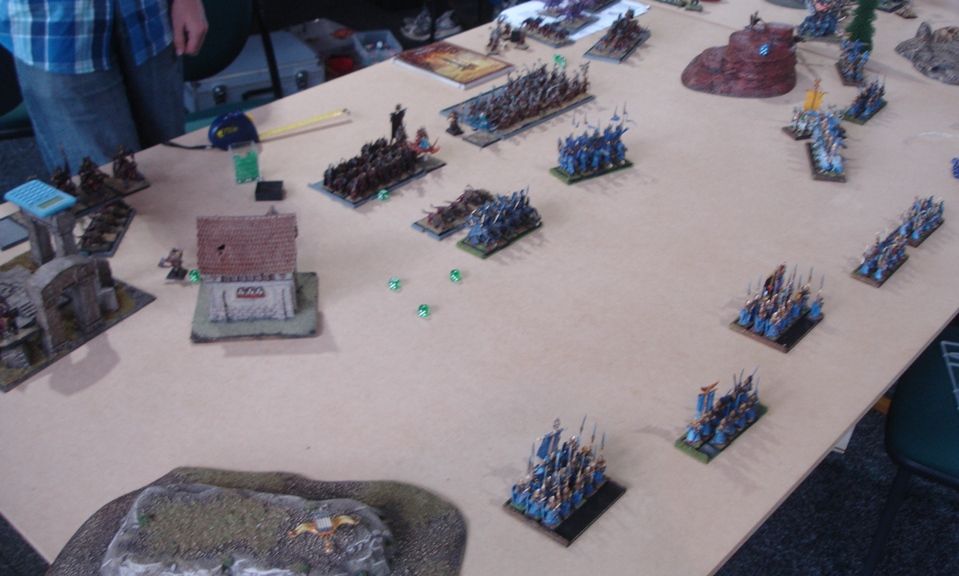
| Warriors of Chaos move forward |
 |
| Steamroller picks up the momentum |
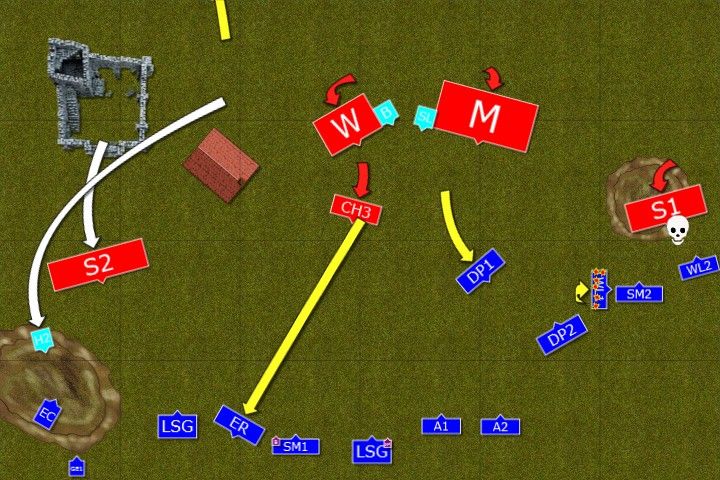
All units moved forward, only hellstriders repositioned and now were on the opposite flank. Also characters changed their positions with Sorcerer Lord and BSB more at the center and Exalted Hero going alone. There were no victims on the elven sides. However, Sorcerer Lord cast Pandemonium with such a force that it could not be stopped and could not be contained either. While he was saved from magical feedback, the hero was not so and suffered a wound ([i]Thanks for correction, Joel![/i]).
Outcasts - Turn 1
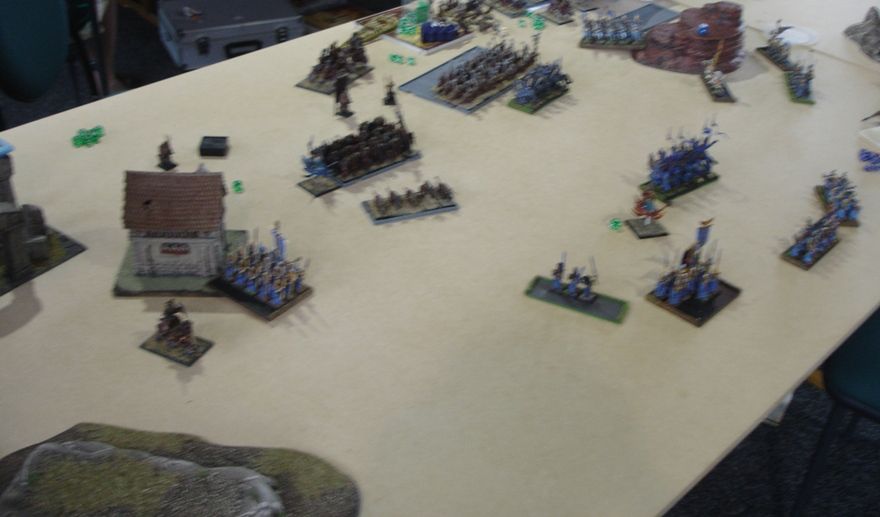
 |
| Elven cavalry intercepts enemy's fast units |
 |
| Fast advance on the Eastern flank |
Seeing the opportunity Dragon Princes spur their horses and attack chaos hounds destroying them utterly. Nearby hellstriders are the main target of the elven shooting and they all die to well placed shots. That somehow strikes fear in the wicked hearts of nearby dogs and they flee. On the West another unit of chaos hounds is also destroyed. Finally, elven archers shoot at huge unit of marauders and a few armor-less humans lie dead.
Lions and Swordmasters on the East move forward fast, setting a trap to catch and destroy an isolated Skullcrushers.
Warriors of Chaos - Turn 2
Lions and Swordmasters on the East move forward fast, setting a trap to catch and destroy an isolated Skullcrushers.
Warriors of Chaos - Turn 2
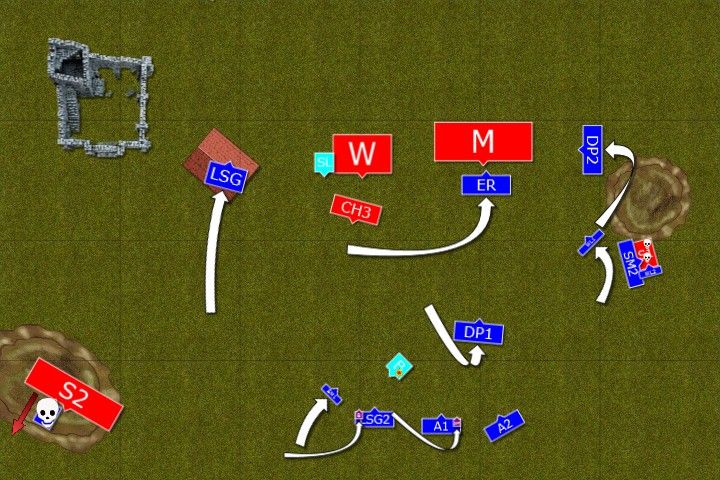
 |
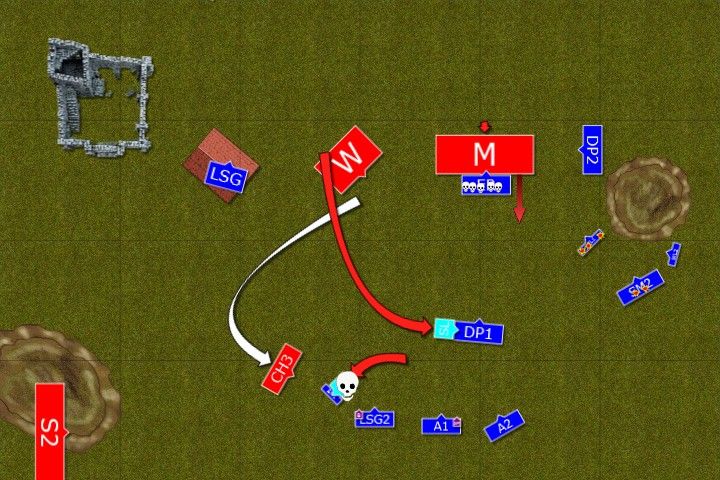
| Tactical withdrawal of the elven cavalry |
 |
| Chaos army is eager to fight but elves do not give much chance to do so yet |
Chaos warriors had enough room to perform a flank charge on the Dragon Princes and elven knights withdrew. That opened a path for Marauders to charge Ellyrian Reavers but swift elven light horse also withdrew to the safety of their own lines. Even chaos hounds could not successfully chase them down.
On the East Skullcrushers destroyed poor eagle and slammed into nearby white lions. But that was not all warriors of chaos could do.
On the West exalted hero flew to the close proximity of the eagle claw and roared at the crew but that didn't impress stoic elves much. Then sorcerer lord managed to breach magical defenses of the archmage and horrible treason of Tzeench claimed majority of white lion unit. Ashamed at their kin-slaying, remaining warriors tried to retread from the crime scene.
Outcasts - Turn 2
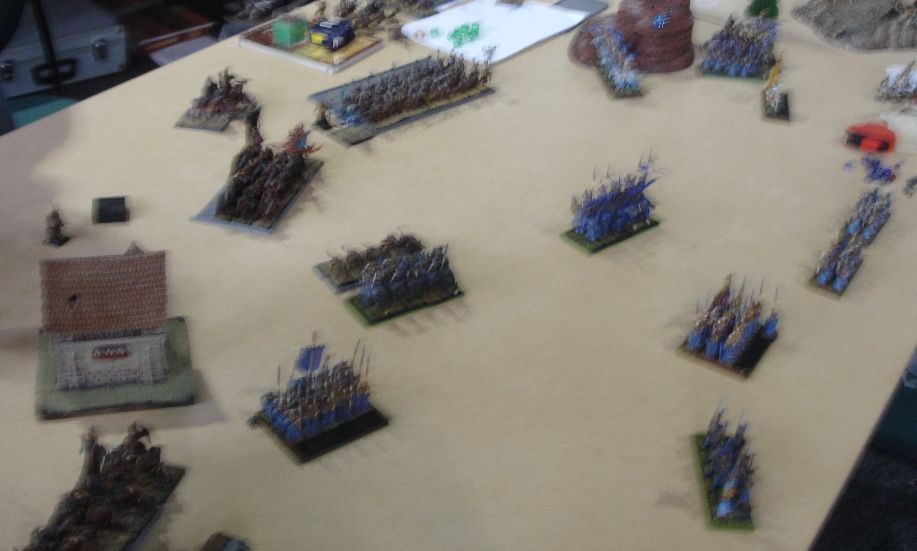 |
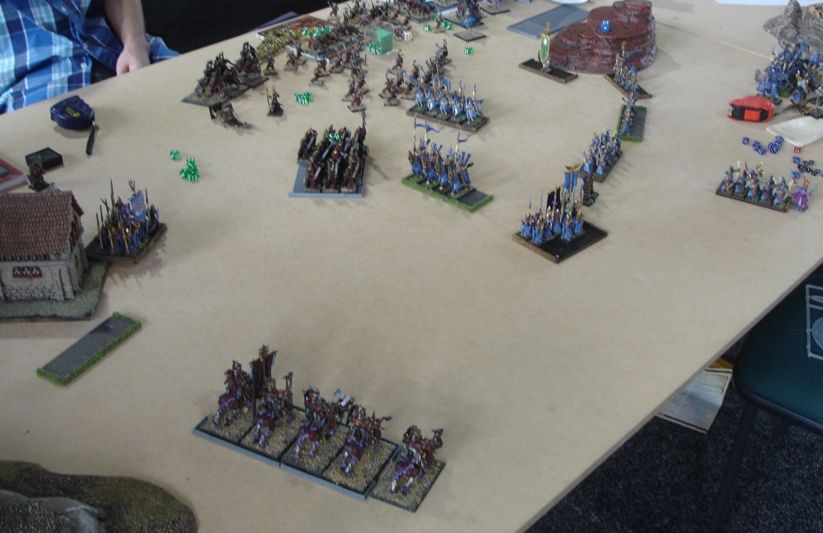
| Yeap, blurry picture :) |
 |
| The fight on the Eastern flank begins! |
With white lions taking the brunt of the attack Swordmasters charged to the flank. However, despite decades of training the sight of steel behemoths unnerved warriors of Hoeth and only two of the skullcrushers fell down to the combined might of elven elite warriors. Remaining Khorne warriors returned the attacks and the fight remained unresolved.
The center of the elven line remained steady, with knights rallying and moving to the flank of marauders, archers shooting at them and reavers blocking last pack of hounds.
On the West great eagle blocked the advance of another skullcrushers while BSB aimed carefully and managed to find a weak spot in exalted hero's armor. (Edit: it is possible it was eagle claw, I can't recall it now :(). Sea guard, using the opportunity, sprinted forward towards the building and out of sight of the skullcrushers.
Warriors of Chaos - Turn 3
 |
| The advance of the warriors seems to be stalled, for a while at least. |
 |
| But the BSB decides to gamble |
With almost all fast units gone the advance of the warriors army seems to be slowed down considerably. On the East Swordmasters and White Lions killed another Skullcrusher but the last one kept fighting and killing elves.
On the West another unit of Khorne brutes killed the eagle and overrun into eagle claw. Only in the center two infantry units remained more or less where they are. Chaos Warriors BSB decided it is time for a gamble and flew over elves to belch stream of corruption on the ea guard with the archmage. The casualties unnerved the elves but they held in the end.
Last but not least Sorcerer Lord managed to get another deadly spell through. This time infernal gateway claimed many of the elite Swordmasters but the presence of the BSB kept survivors from fleeing the battlefield.
Outcasts - Turn 3
 |
| At long last elves secure Eastern flank |
 |
| Noble sacrifice of Ellyrian Reavers |
Swordmasters and White Lions finally kill the last skullcrusher and reform to face the marauders. Ellyrian reavers sacrifice themselves to enable dragon princes to attack followers of khorne.
Elven leaders switch to different units and unleash the arrow at the exposed enemy bsb but between his armor and ward saves he suffers only a single wound.
Warriors of Chaos - Turn 4
Elven leaders switch to different units and unleash the arrow at the exposed enemy bsb but between his armor and ward saves he suffers only a single wound.
Warriors of Chaos - Turn 4
 |
| Chaos Warriors' leaders attack on their own |
 |
| And they pay ultimate price for their arrogance |
Exalted hero thought that three elves are no match for him and charged in. Little he knew that he attacked the very best high elves can offer. With the aid of talisman of loec high elf bladelord dealt the last wound to the warrior of chaos and the enemy's battle standard went down.
Sorcerer Lord was furious. He saw that one of the elven cavalry squadrons exposed its flank and attack himself. However, his attacks were not powerful enough to pass through fine dragon armor and elven knights held and reformed. His last act was to cast a spell at depleted lion unit but somehow a single warrior, proudly carrying the regimental banner, remained alive.
Khorne marauders charged elven light cavalry and as expected left no survivors. Also eagle claw crew stood no chance and frenzied skullcrushers carried on with their devastating charge to get them temporarily out of the battlefield.
Outcasts - Turn 4
 |
| Mighty charge of the elven knights |
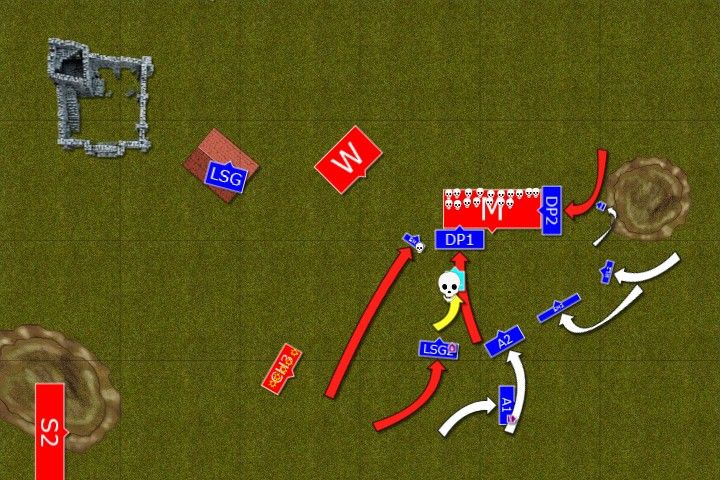 |
| High elves counter attack |
With enemy general held in place elven units are presented with rare opportunity. Both sea guard, led by bsb, and swordmasters charge the Sorcerer. All the attacks directed at him result in a single wound caused but it is enough to break him. Dragon Princes pursue and catch enemy leader and use their momentum to hit the marauders with perfect timing as their companions hit the flank of the enemy horde.
Elven knight inflict horrendous casualties but for now marauders hold.
In the meantime sea guard occupying the building shoot the last pack of the chaos hound down.
Warriors of Chaos - Turn 5
 |
| Another enemy unit down! |
 |
| Chaos Warriors lost a lot but they are still very dangerous |
Chaos Warriors try to reinforce the marauders but they fail to reach the combat in time. With lost frenzy, marauders cannot inflict enough damage and suffer a lot themselves. Both elven knightly units cause enough damage to finally break and destroy marauders.
Only two units of the warriors of chaos remain on the battle field but they are very powerful and elves are bloodied too.
Outcasts - Turn 5
 |
| Dragon Princes move to intercept Skullcrushers |
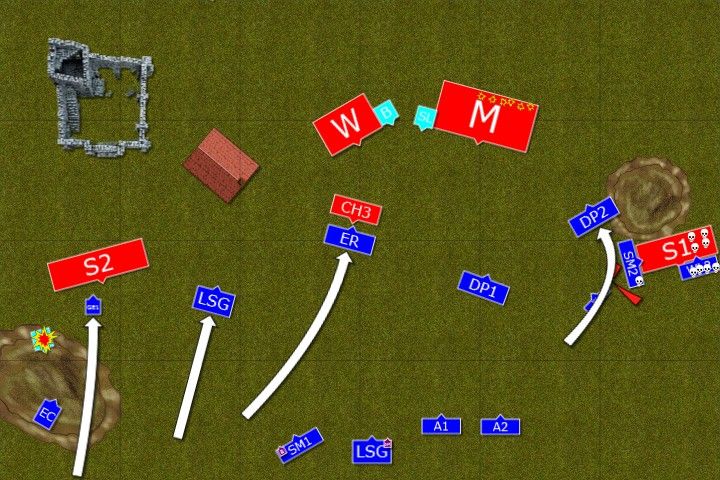
Although there was an opportunity to charge warriors of chaos dragon princes move around and block skullcrushers so that they cannot attack more fragile elven regiments. The rest of the army moves away from the warriors so that they cannot charge successfully.
Warriors of Chaos - Turn 6

With all elven units too far away warriors could not even attempt any charges. Only skullcrushers attacked dragon princes. They survived thanks to their dragon armor and escaped pursuing Khorne warriors.
Outcasts - Turn 6
High Elves were content with the outcome of the battle and decided not to mount any reckless attacks as their units were bloodied enough. At this point both armies disengaged.
Turns Summary
Turn sequence animation shows the battle in a more dynamic way. I hope you will like this new addition to the report!
 |
| Turn Sequence Animation |
After-battle thoughts
First of all I would like to once again apologize to Joel for my wrong interpretation of the flaming attacks vs magical weapon rule. As Nick Hoen pointed out after the game (thanks a lot, Nick!), magical attacks are not flaming. (p. 69, flaming attacks, last paragraph). It means that the attacks of the riders in turn 6 would not allow dragon princes to get their ward safe. Fortunately, it was not as crucial as it seems as even with extra 150 points for that unit, the final result would have been the same. Sorry for that, Joel!
I was very happy with the outcome of the battle. I didn't expect to win that game as this army is indeed very tough. I also had some luck, which definitely helped me out. More detailed conclusions:
1. Destroying fast units of the enemy is always very important. I am glad I managed to do it quickly.
2. Tzeentch magic is crazy (or was :)) and I had a lot of troubles with it. Joel had a very efficient magic phase where he cast Pandemonium as first spell and I often let it go to be able to dispel treason and/or gateway. I was not always able to do so and I had to use my power dice to dispel Pandemonium in my own magic phase which effectively denied me the chance to cast any good spell on my own.
3. I was also lucky to have the opportunities to kill enemy characters. First, exalted hero wounded himself despite good armor and ward saves. Then I dealt the last wound by shooting. Similarly with BSB. Joel told me he forgot about talisman of loec and it seems that tipped ed the balance into my favor. Finally, I think it was grievous mistake to charge with his general, although I do understand the will to protect his marauders from the charge of the elven knights.
4. 1+ Monstrous Cavalry is damn tough. Also because these fear tests I tend to fail when I really need to pass them. That combat was the reason I decided to switch to metal magic.
5. I thought about the opportunity to charge Warriors of Chaos with both dragon princes squadrons and sea guard to the rear. However, with banner of rage and mark of nurgle they were very dangerous foe. I would have hit on 5+ (with a re-roll) which is far from comfortable. Then, sea guard's bonus of rear + banner attack could have been easily turned into advantage as I faced too many returned attacks. Since I knew I was winning I decided to play safe. I was not convinced that the risk of losing a few more units was justified.
6. I also preferred to sacrifice one cavalry unit in order to prevent skullcrushers from charging my other, very fragile and depleted units. Yes, it was a long charge but still possible. In the end I was very happy with 16-4 win!
It was a very difficult battle for me from the tactical point of view but extremely pleasant in terms of sportsmanship. Joel was a top opponent that offered me a very good game and despite some bad luck he played till the very end and it was a real pleasure to meet him. I also wanted to use the opportunity to congratulate him on a very good result during the next tournament, the Clash of the Titans! Well done Joel!
No comments:
Post a Comment